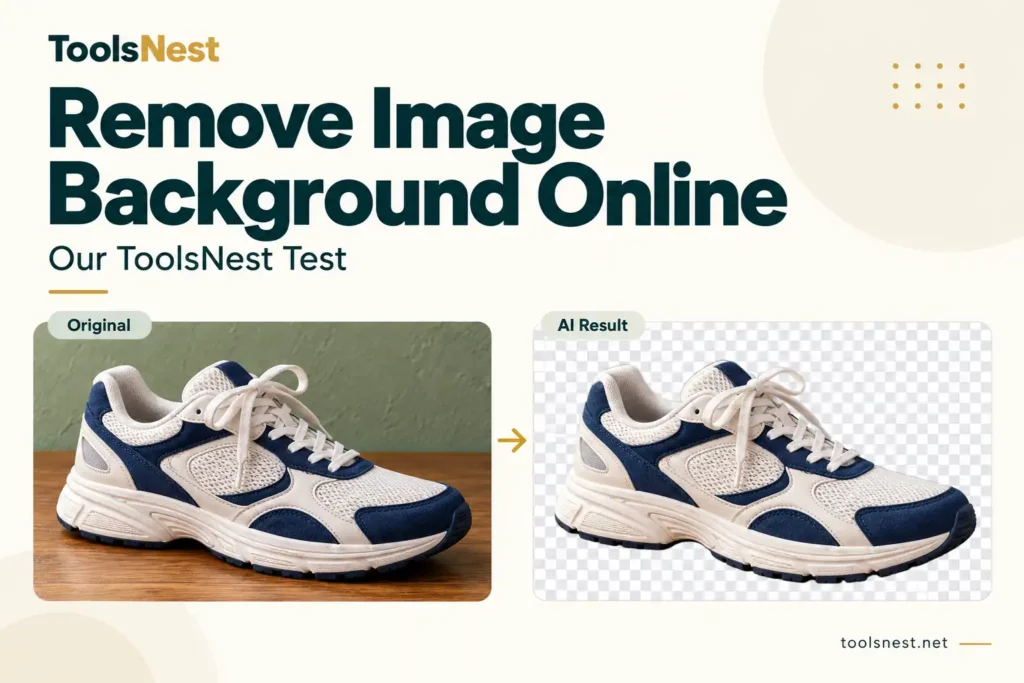
Removing a background looks straightforward until you inspect the small details. A shoe may appear neatly cut out in a preview, while a closer look reveals a coloured outline or a piece of background trapped inside a shoelace.
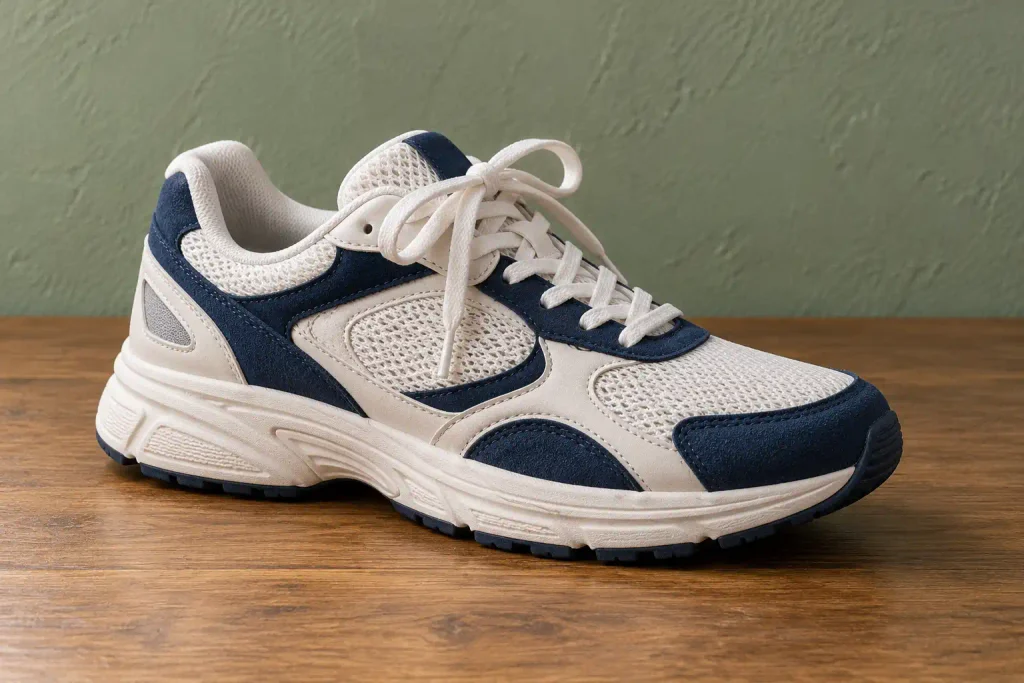
I wanted to see what would happen with a product-style image rather than describe the process without trying it. Using the ToolsNest background remover, I processed a cream-and-navy sneaker photographed against a green wall and wooden tabletop.
The tool removed most of the surrounding scene and produced a transparent PNG. However, the edges needed closer attention. This guide explains how to remove an image background online, what our test produced, and how to decide whether your download is ready to use.
Table of Contents
Our Test Image and Settings
The sample was AI-generated for this demonstration. It was not a photograph of a product I own, but the background-removal test was performed on an actual image file.
I chose it because the scene contained several useful challenges:
- White shoelaces stood out against the green wall.
- A loop in the lace enclosed a small area of background.
- The pale sole met a darker wooden surface.
- A contact shadow extended beneath the shoe.
These details made it possible to judge more than whether the wall disappeared.
The original PNG measured 1536 × 1024 pixels. Its file size, recorded from the original on my computer, was 2,591,553 bytes.
I selected General — people and objects and kept PNG — keeps transparency as the download format. I did not apply the manual colour-removal option or make additional cleanup edits.
How to Remove an Image Background Online
Here is the sequence I followed:
- Open the Remove Background tool.
- Choose the original image from your device.
- Under AI model, select General — people and objects for this product example.
- Click Remove background with AI.
- Wait for processing to finish and inspect the preview.
- Keep PNG — keeps transparency selected.
- Click Download image and open the saved file.
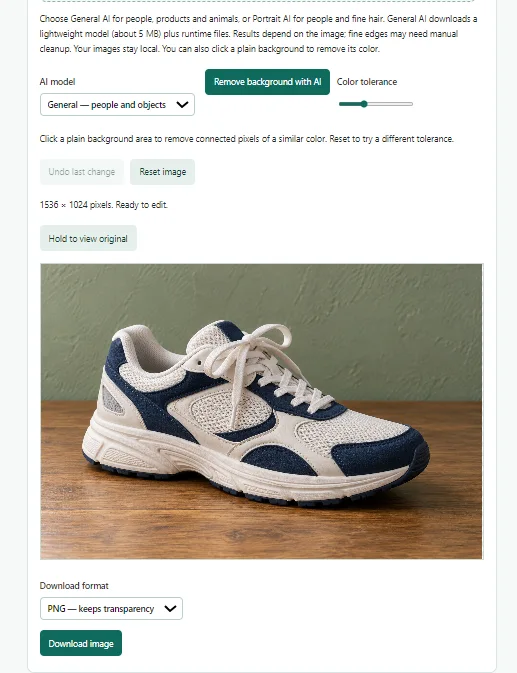
I captured the settings before processing and the result afterwards, so the comparison documents the same test.
The Hold to view original control helps compare the cutout with the starting image. For the final check, though, inspect the downloaded file too. A small preview can make uneven edges difficult to notice.
Which Background-Removal Method Should You Choose?
The page offers two AI choices: General AI for people, products and animals, and Portrait AI for people and fine hair. Our sneaker test used General AI only; it does not establish how Portrait AI performs.
There is also a separate manual option: click a plain background to remove connected areas of similar colour. Color tolerance controls that colour-based selection.
That slider was not part of this experiment. Keeping the methods separate let me judge the AI result without mixing it with manual corrections. The page also provides Undo last change and Reset image controls.
What the Background Remover Did Well
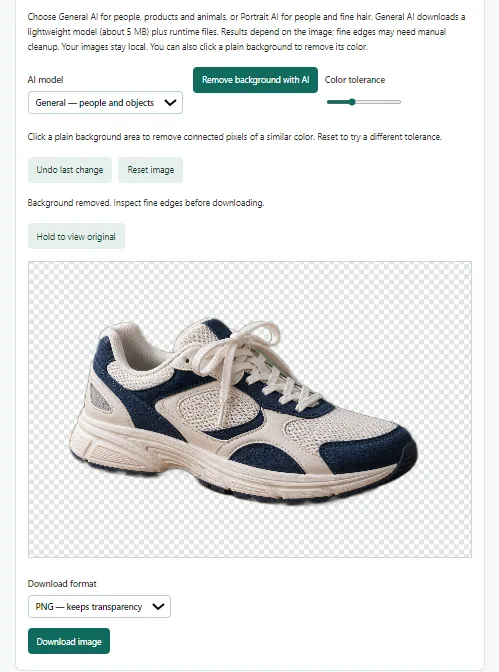
The green wall and wooden tabletop were removed from most of the area around the sneaker. The main outline remained recognisable, including the toe, heel and sole.
The fabric texture, navy panels and stitching were still visible. The laces also remained part of the cutout rather than disappearing entirely.
The downloaded PNG contained genuine transparency. This matters because a picture displayed against white is not necessarily transparent: it could simply have a white background saved into it.
In the tool, a checkerboard appeared around the shoe. That pattern represented transparent space in the preview; it was not a new background added to the product.
For an initial cutout, the result gave us something useful to work with. It was not a finished result for every possible use.
Where the Result Needed More Work
The most revealing area was the loop near the top of the shoelace. Some greenish background remained inside it.
There was also a green-grey fringe along parts of the upper outline. Around the lower edge, traces of the original surroundings were visible in places.
Those imperfections were less obvious in the smaller preview. The larger view of the downloaded image made the leftover background around the edges and inside the lace loop easier to see.
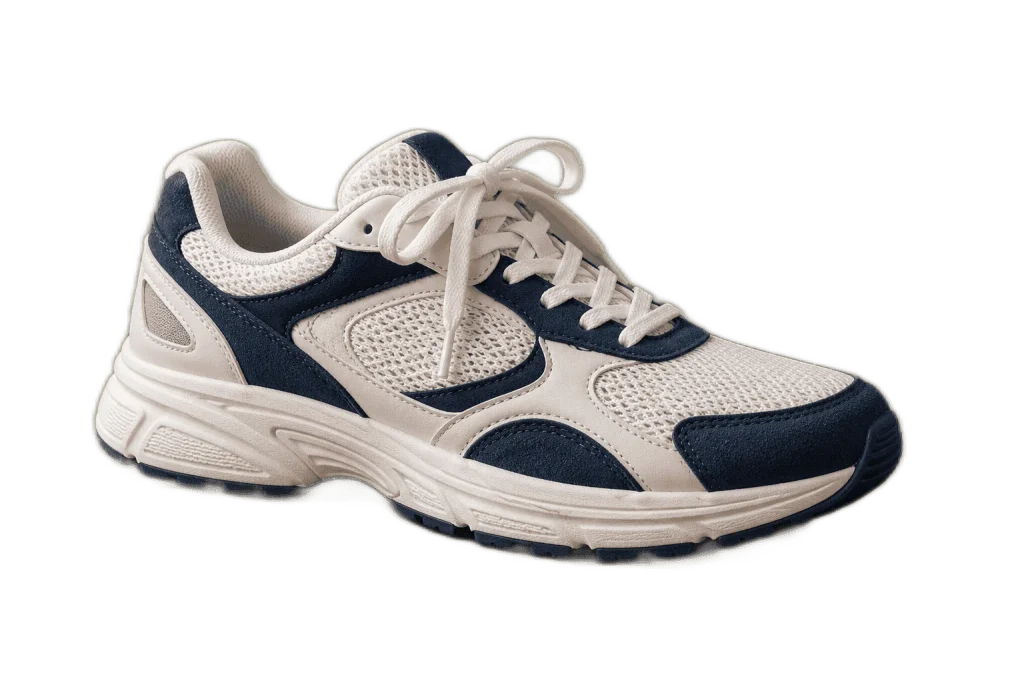
This is the practical lesson from our test: removing the main background and producing a clean product edge are separate checks.
Before using a cutout, examine:
- Enclosed spaces: lace loops, handles and gaps between parts.
- Outer edges: look for coloured halos or missing pieces.
- Contact areas: check where the object touched a table or floor.
- Fine details: make sure thin features have not become broken or faded.
For this sneaker, I would keep the original download as a test record. For a prominent product image, I would want the remaining fringe and lace-loop residue cleaned up first.
Original and Downloaded File Comparison
I recorded the following sizes from the files on my computer, using Size, not Size on disk.
| Measurement | Original image | Background removed |
| File format | PNG | PNG |
| Width | 1536 pixels | 1536 pixels |
| Height | 1024 pixels | 1024 pixels |
| File size | 2,591,553 bytes | 1,501,419 bytes |
| Approximate size | 2.47 MiB | 1.43 MiB |
| Background | Wall and tabletop | Transparent areas, with some edge residue |
MiB uses 1,048,576 bytes per unit. Windows displayed these rounded values using the label MB.
The difference was 1,090,134 bytes, or approximately 42.1% of the original file size.
That saving belongs to this particular test. Background removal changes the image content and creates a new export; it is not a promise of consistent compression. Another image could produce a different result.
The canvas dimensions stayed unchanged. Removing the background did not automatically crop away the transparent space around the sneaker.
How to Check Whether the Background Is Transparent
Open the downloaded image in an editor that supports transparency. Place it above a solid-colour layer, then try a second contrasting colour.
Check whether the new colour shows through the area around the subject. Pay particular attention to enclosed gaps, such as the shoelace loop in our example.
A viewer may display transparent areas against black, white or a checkerboard. The display colour alone does not tell you whether the export has failed.
A useful inspection sequence is:
- View the image at 100% zoom.
- Examine the outline against a light background.
- Switch to a dark background.
- Check the image at its intended display size.
A cutout that looks acceptable as a small illustration may still need refinement for a large banner.
PNG or WebP: Which Version Should You Keep?
I downloaded PNG for the test so I could retain a transparent version for inspection and further editing.
MDN’s image-format guide explains PNG’s support for transparency. JPEG does not preserve transparent areas, so avoid using it when you need the background to remain see-through.
WebP is another option for publishing. According to Google’s WebP documentation, the format supports transparency with both lossy and lossless compression.
For this article, the illustrations are WebP display copies. The measurements in the table refer to the original PNG and the PNG downloaded from the background remover, before preparing those publishing copies.
When converting your own cutout, reopen the WebP afterwards. Confirm that transparency survived and that compression has not made the edges noticeably worse.
For more on preparing smaller publishing files, see our image compression guide.
Preparing the Cutout for a Website
Start with the intended placement. A product thumbnail and a full-width illustration do not need identical dimensions.
If there is excessive empty space around the subject, crop the image while leaving enough room around the laces and sole. If the whole image is larger than needed, resize it proportionally.
Then prepare a compressed publishing copy and inspect it again.
Compression will not fix leftover background inside a lace loop. Resolve visible cutout problems before optimising the file for your page.
Keep the untouched source and the first PNG result. That makes it easier to repeat the removal or compare a later adjustment without losing the original evidence.
Frequently Asked Questions
Can I Remove a Background Without Making the Image Smaller?
In our test, the output retained the original 1536 × 1024 dimensions. The file used fewer bytes, but its width and height did not change.
Why Is There Still Colour Around the Object?
The remaining outline can include pixels from the original background. Our example showed green-grey residue around parts of the shoe and inside a lace loop. Inspect those areas before deciding whether further cleanup is necessary.
Does a Transparent PNG Mean the Cutout Is Perfect?
No. Our download had transparent areas and still contained unwanted background residue. Transparency confirms that parts of the image are see-through; it does not establish that every edge is accurate.
Should I Use Portrait AI for a Product?
For this sneaker, I chose General AI because the interface identifies it as suitable for objects. We did not test Portrait AI, so this article does not compare the quality of the two models.
Try One Image and Inspect the Details
Our experiment produced a transparent sneaker cutout at the original dimensions, with a smaller file size. It also left imperfections that a quick glance could miss.
Try the ToolsNest background remover with an image whose edges you can inspect easily. Download the result, check it against contrasting backgrounds, and decide whether it suits your intended use. The useful result is the one that holds up where you actually plan to display it.